A coordinate measuring machine (CMM) is a device that measures the geometry of physical objects by sensing discrete points on the surface of the object with a probe. There are different types of CMMs and probes that manufacturers can use to ensure and maintain quality. This blog post will list the main types of CMMs and explain how they are used in today’s manufacturing environments.
Learn the Ins and Outs of 5-Axis Machining with Our Infographic
While the mechanics and principles of measuring are largely the same across the types of machines, the CMMs themselves are classified by their structure. Each style has its own strengths and weaknesses. There are four types of CMMs, so let’s talk about them.
1. Bridge Type CMM
The first type of CMM is also the most common. Bridge-style CMMs are further divided into moveable tables and moveable bridges. Bridge-style designs provide very stable anchors for the measuring apparatus. They are available as both fixed machines and as portable units. Unlike laboratory machines, these are usually hardened to stand up to the rigors of the machine shop floor. However, bridge-style CMMs are often limited to measuring small and medium-sized parts which can be lifted and placed on the table.
2. Gantry Type CMM
Gantry-style CMMs are used for large products such are automobiles where the floor itself can serve as a datum. These designs eliminate the need to lift an article onto a table, so they are useful for heavy machine parts. Their enormous size makes them much more expensive than the other styles, but their utility makes them critical for machine shops that churn out large and hefty parts.
3. Cantilever Type CMM
Next are cantilever machines. These are interesting because they are supported at only one point, which makes them less rigid than styles that use two-point support. These are generally limited to measuring small parts: they have the advantage of allowing the part to be accessed from three sides, rather than just one or two.

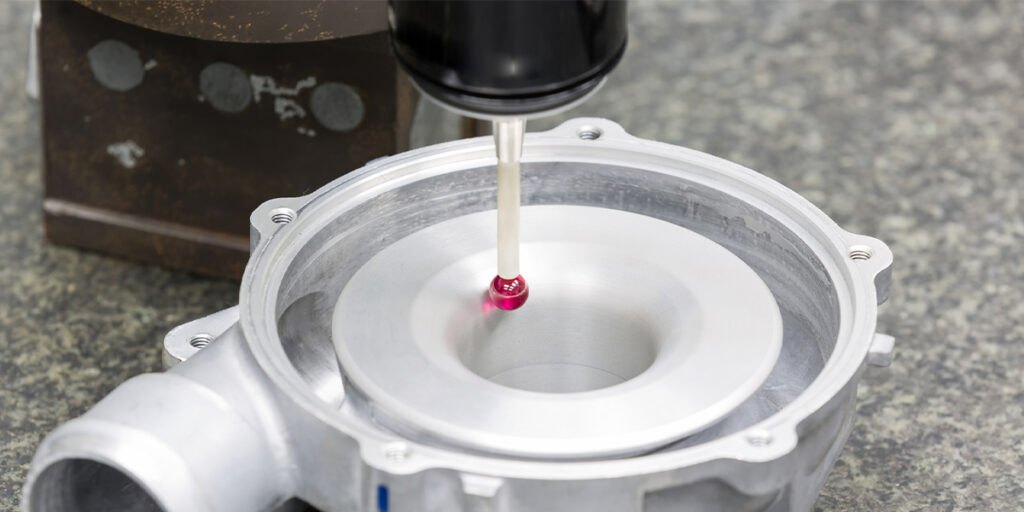
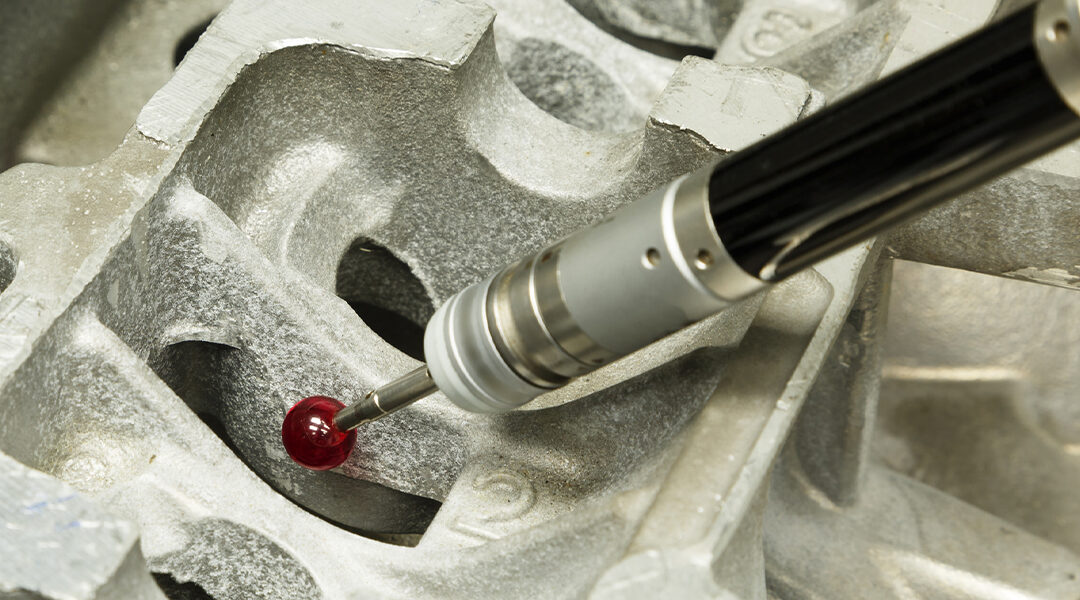
CMM probes measure the distance between points on the part.
4. Horizontal Arm
The first three types of CMM mount their probes vertically; horizontal arm CMMs, though, mount theirs’ horizontally. These machines are used to measure long, slender parts that would otherwise be out of the range of the typical CMM. While they are useful for this application, these machines are not as accurate as the other types.
There is also one more type which is not as popular as the four major ones. Arm-style units are fully transportable, which allows for inspection anywhere in the field. They can use a variety of sensors depending on the level of precision needed. Since these machines are hard-operated and are sometimes mounted onto more traditional CMMs, many manufacturers consider them separate from their CMM offerings.
One of the key components of any CMM is its. Probes are usually classified as contact, non-contact, and combined (or multi-sensors). Contact probes are used to measure single points or to scan the surface of the part, providing an analog representation of a complex structure. Non-contact probes use lasers or machine vision to determine the distance between the probe and the surface of the workpiece. Unsurprisingly, multi-sensors will combine the styles.
Technological advancements have allowed for five-axis measurement, which can measure the parts much faster because they have an extended range of movement as well as improved accuracy and repeatability. For more about all your precision machining and measuring needs, feel free to contact us.


